
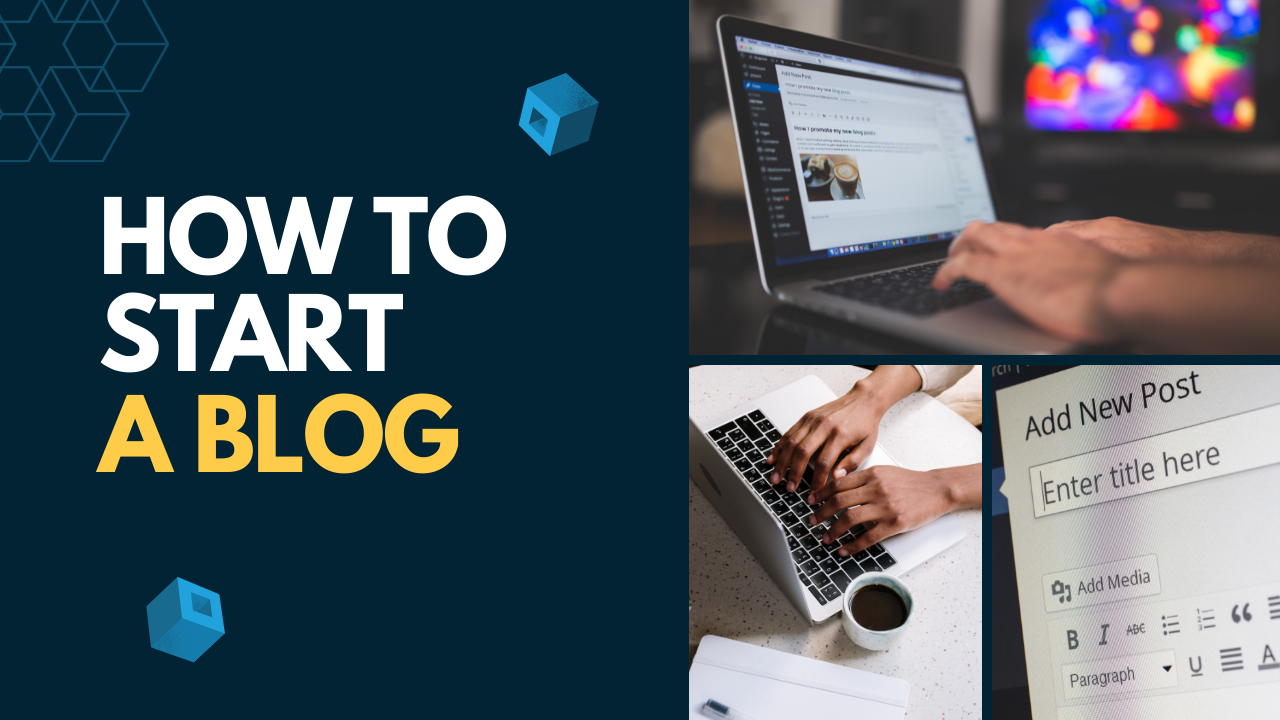
Blogging on the side as a passion or hobby and blogging as a full-proof career, are different in reality. Blogging as a hobby can be done for free with limited resources but that’s not true with others. A good blogger is one who understands the importance of a proper investment for getting started with blogging in order to have a better ROI. And today, in this post, our target audience needs to be those who actually want to extract everything out of blogging. And by the end of this blog, you will have a clear-cut answer to your query: How to start a blog in WordPress? So, without any delay, let’s get started with this blog.
As discussed above, blogging as a full-proof career with an appropriate ROI needs some sort of investment. And that investment is best when in the form of WordPress. Yes, WordPress is the name for all your doubts regarding blogging. WordPress is an open-source Content Management Software that is based on PHP and MySQL. It is free to install, use, and modify as per the requirements. It can be used for almost every sort of website like e-commerce, etc. It is a perfect tool for web developers and bloggers to have a personal website to their name without any prior knowledge of coding. WordPress consists of numerous themes, plugins, and other features which everyone can make use of to enhance their website. Today, almost 34% of websites live are based and built on WordPress. It is of 2 types or we can say, it has 2 versions, WordPress.com and WordPress.org. The critical difference between these two lies in the type of hosting. While the former is a kind of free platform with less freedom, almost no option to customize anything, no plugins, no monetization, and fewer features to work with, the latter is known as a self-hosted platform and is the most recommended when you are building a career out of blogging and provides you everything that the former can’t.
Some of the reasons for picking up WordPress.org is:
- You are the leader of yourself and your website.
- More freedom to do anything or we can say, everything.
- You can customize your site according to your needs and monetize it.
- You can apply themes and install plugins for the enhancement of your website to make it more functional.
- You can have the entire control over your website.
And this list is never going to end here. Now, you must have understood, why self-hosted platforms are the best and not to go with the free blogging platforms as they are just meant for the hobby purpose where you aren’t willing to earn any money out of it. And now, it’s the right time to get started with, How to create a blog with WordPress?
Table of Contents
1. Book Your Domain Name
2. Get Your Hosting Ready
3. Install WordPress
4. Choose your theme
5. WordPress Interface Tour
6. Write your first blog
7. Index your blog to rank on google
8. Setup google analytics
9. Optimize your blog to make money
Let’s dive deeper into all these one by one.
1. Book your Domain Name
The first and the foremost step of working with WordPress is getting a personal Domain name from an appropriate company like BlueHost because your domain name is free for the initial 1st year with BlueHost and it offers a single-click WordPress installation feature. Moreover, BlueHost is one of the oldest and most reputed domain names and web hosting service providers started in 1996. A domain name is one with which people will search for you on the World Wide Web. It is a kind of your blog address on the Internet which is unique and once registered, can’t be modified. There are many things that you have to keep in mind before finalizing the domain name and these are:
- The domain name should be easy to remember and pronounce.
- Should not contain any numeral or special character.
- Should be short in length.
- Should be in accordance with the niche you are writing on.
Just follow these guidelines and you will have the domain name most appropriate for you. Also, with BlueHost, you can use your existing domain name, if any.
2. Get your Hosting ready
Done with the domain name? Now, get a proper hosting plan for your domain name and website with BlueHost. A web hosting service is an internet service that allows users to get their website accessible to people worldwide through the World Wide Web. Without hosting, no one can access your website. And therefore, it becomes extremely important for individuals to choose a hosting plan with suitable charges. For this, you can always go with the BlueHost. BlueHost comes with 3 super hosting plans with different features. These are:
- The basic plan costs around $2.95 per month*.
- Plus plan which costs around $5.95 per month*.
- Choice Plus plan which costs around $5.95 per month*.
( * Introductory prices for new users.)
Though Plus and Choice Plus have the same pricing, they have different features. Out of these three, the basic plan is most suitable for those bloggers who have just started blogging and don’t have much knowledge and experience. BlueHost also provides you the power to change your plan from one to another in the future if needed. Some of the features that are common to all three are given below for a quick reference.
| Features | Basic | Plus | Choice Plus |
| Price( per month ) | $2.95 | $5.95 | $5.95 |
| Websites | 1 | Unlimited | Unlimited |
| Bandwidth | Unmetered | Unmetered | Unmetered |
| SSD Storage | 50 GB | Unmetered | Unmetered |
| Email Accounts | 5 | Unlimited | Unlimited |
| Sub-Domains | 25 | Unlimited | Unlimited |
| SSL Certificate | Included | Included | Included |
| Marketing Offers | Not Available | $200 | $200 |
| Email Storage | 100 MB/account | Unlimited | Unlimited |
| Performance | Standard | Standard | Standard |
| Parked Domains | 5 | Unlimited | Unlimited |
3. Install WordPress
Now, it’s time to get WordPress installed on our systems. After registering for the domain name and choosing your hosting plan, BlueHost offers a one-click WordPress installation from your Control Panel (cPanel). This is what your computer screen will look like.

On the cPanel, you will see various small icons but of now, we are concerned with the icon reading ‘Install WordPress’. Just click on it. You will be taken to the WordPress dashboard and now, click on the ‘Get Started’ and choose your domain name.
Now, click ‘Next’ and fill in your username, password, and Site Name.


Now, the installation process will start and you will receive an installation success notice at the top as shown below.

Here, you will have an Installation complete link. Click on it and it will take you to a screen with your WordPress Login URL and password. The screenshot has been attached below.

Congratulations, you have successfully installed WordPress on your system along with your domain name and hosting plan. Just click on your WordPress Login link and you will reach to your dashboard where your real task will start, styling and customizing your site to make it #1.
4. Choose your Theme
When you are done with the setup, it’s time for some serious work. This section is all about the themes available on WordPress, some of which are free to use while others are paid ones. No worries!! Free themes are equally good and appealing to the eyes. But, as of now, you may be wondering, why do we need a theme? So, for that, have a look at the below attached image.

Now tell me, is it appealing and worth reading or not? Your reply will be a strict no. Hence, this is what your first sample blog will look like. So, themes play an important role in transforming the blogs into a readable form that attracts more readers. So, in order to apply your 1st theme, go to your dashboard and then Appearance >> Themes.

Clicking on Add New will take you to the below screen.

Here, you have the WordPress collection of 5600+ pre-installed themes, some of which are free for use and others are paid ones. By clicking on the desired theme, you will see that particular theme with two options, Install and Preview. This is what it would look like.

By clicking on Install, that theme will get installed and then you have to activate it. By clicking on Preview, you can see how the theme will look on your blog. You can also customize the theme in the Appearance window.
Note: Themes may appear different in the preview and on the application.
Important points to keep in mind while choosing a theme:
- Keep it simple and sweet.
- Choose a responsive theme.
- The chosen theme must be compatible with every browser.
- Themes should support all the plugins as plugins are equally important as themes.
- Should be SEO friendly and must have positive reviews from the previous users.
This is how you can choose an appropriate theme for your blogs.
5. WordPress Interface Tour
This section will take you through the WordPress Interface or your dashboard. This is not where you will spend most of your time but it’s important to have a brief understanding of each component. This is how it would look like.

As you can see, on the left side, you will find all the available options which help you in maintaining your website or blog. Let’s understand a few of them with which you may have to deal in the future.
Updates
It is somewhat important to discuss with you all. Here, a red exclamation will indicate that your themes, plugins, and WordPress software needs an update. This is how it looks when you click Updates.

Posts & Pages
This is what we call the heart and brain of WordPress because it is where you can create your blog posts and static pages as per your needs. Just click on Post >> Add New for a new post and Pages >>Add New for a page.

Manage Posts & Pages
If you have some previously published pages and posts, you can manage their formatting here. Here is how it looks like.

Media
Here, you can add or delete any kind of media like pictures, videos, etc. from your website. It is not visited frequently.

Comments
This section is meant for the interaction between the blogger and the readers. Here, one can see and reply to any comments. By default, no comments won’t show up at the front of the site until you change the settings manually. Additionally, you can Mark any comment spam, approved, and trash.

Appearance
Now, this is where most of your time will be consumed. Here, you will change your themes, the appearance of your site to make it more appealing.

Plugins
In this section, you can install and activate new and latest plugins for enhancing the functionality of your WordPress blog. You can use the already installed plugins or can also add new to the list.

6. Write your first Blog
Now, we are ready to write our first WordPress blog. To do so, click Posts >> Add New. It will take you to the post editor where you can write all the content and use the other available features to enhance it. This is how the editor will look.

Under the Add New option, there is an option namely, Category and Tags. Category means the different sections in your blog/post. Tags are used to include any other thing in your particular category/section. To make it more clear, consider this example. You are writing about Sports. You have to write about the introduction, the advantage of sports, their disadvantage, etc. These are various categories of your post. Now, under the introduction, you have to include Cricket, Football, etc. This is done using Tags.
If you want others to read what have you written, you have to publish it by clicking the Publish button as shown below.

7. Index your Blog to rank on Google
Getting your website indexed on Google is very important. Generally, Google is an expert at automatically detecting the websites but sometimes, it may not do so quickly. It leads to a loss of potential readers and leads to moderate to average traffic. Therefore, in this section, we will teach you how to index your Blog to be ranked on Google. So, let’s start.
Before starting, you have to create an account on Google Webmasters Tools. After doing so, go to the Settings >> Reading and uncheck the Search Engine Visibility option so that the search engine can crawl into your website. And click on the Save Changes.

After this, go to the Plugins option in the Menu option, search for Yoast SEO plugin, install it and activate. After doing so, SEO will appear in the Menu list.

Click on it and you will be taken to the plugin’s Settings page. There, a Webmaster Tools tab will appear and we will use this to connect the Google search console to our website. This is done by clicking on the Add Property option in the Google Search Console.

In the Website section, make sure to enter the complete URL as seen on the search engine’s URL bar. Then, you will enter into the verification page where you need to verify your website ownership. To do this, you can use the Alternative Method. There you will have to copy a meta code.

Now, head back to the WordPress admin page, then SEO >> General >> Webmaster Tool >> Google Verification Code field, and paste the copied code.

Once everything’s over, save the changes and go back to the Google search console account and click Verify. Your ownership is verified. After verification, head back to the SEO >> General and click on the Features option and switch on XML sitemaps. Save the changes and submit the sitemaps to the Google Webmaster Tools. Now, Google can easily index and trace your content using these sitemaps.
Now, log in to your console account and select your website. Go to the Crawl >> Sitemaps.

Now, click on the Add/Test Sitemap button and your sitemap URL.

Your main sitemap file is named sitemap_index.xml and it has all the links to all the sitemaps on your site. Once you are done with all these steps and Google has crawled into your site, you will start receiving the seeing reports in the search console.
8. Set up Google Analytics
Google Analytics is a very important tool that everyone should install while starting his/her blog on WordPress. Using Google Analytics, one can see how many people are visiting the blog, from where they are coming, what are they doing on your website, and most importantly, how much time they are spending on the website. So see, how important Google Analytics is for any blogger. But, how do install it and predict the data through it? This is what we are going to discuss in this section.
Firstly, visit Google Analytics’ official website and sign up/sign in using your Gmail account. After this, you can sign up for a free Analytics account.

After that, it will ask for your information and website URL and you will receive your unique Google Analytics code. Now, to ease off your task further, we will use an inbuilt WordPress plugin to fetch this code to your blog which is known as Monsterinsights. To use this plugin, switch back to the admin page and go to Plugins and search for the plugin Monsterinsights, install and activate it. Upon activation, go to the Insights >> General and click on the Authenticate with Google Account to connect it to your site.

Then, follow the onscreen instructions to complete the process and in the end, you will be able to see all the happenings on your website through the Monsterinsights tab.

9. Optimize your Blog to make Money
Now comes the part for which we have done so much work in the above sections which is how to make money from the blog/website. It is possible only when you and your website/blog have a good ranking on every search engine, particularly Google. It has 2 benefits:
- Good ranking enables your website to be visible to more and more viewers as according to a study, most of the searchers on search engines limit their search to the 1st page only and most of the time, to the upper part only. That means if your website isn’t in the top position, you will miss some of the potential viewers.
- Better ranking attracts more traffic to your website.
And to achieve all these, your site needs to be search engine optimized which is known as SEO. Again, you will be surprised to know that WordPress has an inbuilt plugin for this purpose which is Yoast SEO.
To use it, head to your admin section, go onto Plugins search for Yoast SEO and install & activate it. As soon as activation is done, the SEO tab will appear on the menu, and click over it to enter into the plugin’s setting page.

Now, follow the onscreen instructions and the complete set-up of Yoast SEO will be over.
Now, let’s start earning money from our blog in the following ways:
- Google AdSense

Many bloggers place Ads on their blogs to earn money from their blogs. Today, more than 2 million people prefer Google AdSense for money-making in a simple way.
- Affiliate Marketing

Affiliate Marketing is the marketing of products and services of another company or individuals on your website or blogs through a unique URL. When anyone clicks on your affiliate link and buys anything via that link, a piece of commission is paid to you for that sale.
And now comes an end to this blog. Now, I believe that this blog will help in starting your own blog on WordPress, adjusting the appearance of your blog, installing necessary plugins, and starting earning money from it.

I help people who are struggling to get desired results in their business, I do this by offering training, personalized consultation, and dedicated growth sessions so they can harness the full potential of digital growth and get the optimal results.